

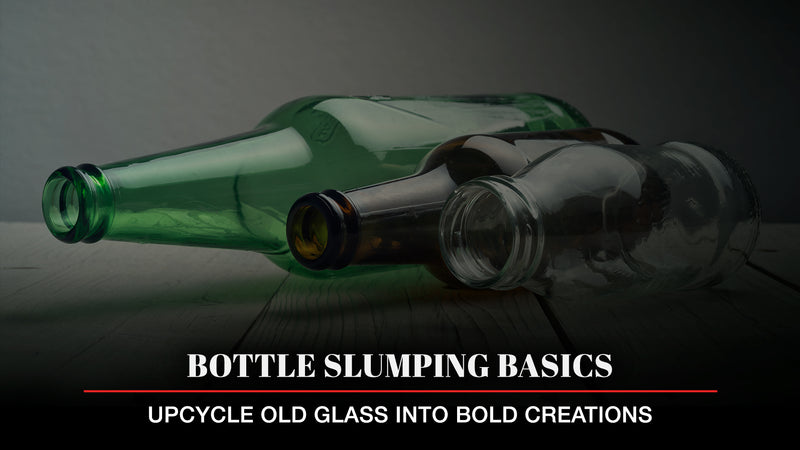
Bottle Slumping Basics: Upcycle Old Glass into Bold Creations
Got an empty glass bottle at home? Before you toss it in your recycling bin, here’s an idea: Upcycle it with bottle slumping!
One of the coolest things about slumping glass is you’re not limited to glass pieces made for this technique. Yes, you can use bottles (as well as other glass you might find). And we’re here to show you the way in this guide to bottle slumping basics. Let’s get into it!
Bottle Slumping by Definition
Bottle slumping is a subset of glass slumping. It involves heating up a bottle in a kiln until it softens enough that gravity takes over. As a result, the bottle “slumps” into a new shape.
If you’re familiar with glass fusing, the bottle slumping process is more straightforward and occurs at lower temperature.
What You Can Create

Images Source: etsy.com (KickedBackCreations)
Bottle slumping is great for making unique pieces for entertaining and decoration, such as:
- Serving trays
- Spoon rests
- Vases
- Sculptures
It’s a fun challenge for the imagination. If you could flatten or collapse a bottle, what could it become?
Equipment and Materials
You need just a few key items to get started.
Selecting Bottles for Slumping
The good news is you can use any kind of glass bottle you might have. The best candidates are the ones that are easy to clean:
- Beer bottles – Great for spoon rests
- Soda bottles – If you can still find glass soda bottles!
- Wine bottles – Ideal for serving dishes
You’ll need to remove the paper labels. What about painted labels? You can use them. And they can bring intriguing detail to your final product. But beware that it’s tricky to get a painted label to look straight after slumping.
Considering Molds and Accessories

Image Source: slumpandfuse.com
What shape do you want? The answer will determine the type of mold you need.
In any case, you need a mold that can handle high temperatures. And it helps to limit yourself to molds designed for slumping. These have a smooth surface that makes it easier to remove the glass after slumping. Otherwise, be sure to apply a mold release spray.
If you want to slump a bottle flat, you don’t need a mold. But you still need kiln paper or a glass separator so that you can remove the workpiece from the kiln shelf after slumping.
Choosing a Kiln

The last key item is a kiln that can heat to 1,500 °F or more.
Bottle slumping can take some trial and error. To speed your experiments, it helps to have a kiln with a simple interface. For example, Hot Shot glass working kilns offer easy-to-use controls along with reliable temperature control.
Plus, they’re built in the USA, with a range of sizes in stock and ready to ship.
Bottle Slumping Step by Step
Bottle slumping involves three main steps.
1. Prepare Your Bottle
Thoroughly clean and dry your glass. Regular liquid dish soap works fine.
But if your bottle has a paper label, you need to remove that and all the glue. Soak it in warm soapy water. For well-stuck labels, try adding a bit of detergent booster like OxyClean. Wipe off fingerprints, too.
To prevent a cloudy look (devitrification) from forming during slumping, you can also apply an anti-devitrification spray. This step is especially helpful if you extend your soak time for the flattest possible slump.
Want to hang your creation? Bend a length of high-temperature wire into a U and thread it into the neck of the bottle.
2. Prepare Your Kiln and Accessories
A slumped bottle that sticks to your mold or kiln shelf can ruin a lot of good effort.
So, if you’re using a mold, be sure to cover it with kiln wash, kiln paper, or a glass separator. If you’re not using a mold, cover your kiln shelf with one of these same accessories.
You should also check if your shelf is level. Lay your bottle on the shelf and see if it rolls. If so, stabilize it with a folded piece of kiln paper.
3. Fire Your Bottle
Bottles vary in shape, size, and thickness. Also, you probably don’t know the coefficient of expansion (COE) for the bottle you’re using.
But these characteristics play an important role in the firing recipe. So it’s hard to provide an exact glass temperature chart that will meet all needs.
As with other kiln-formed glass techniques, it’s not as simple as maxing out the temperature. To prevent cracking and other issues, you need to allow the glass to equalize along the way. In other words, you need to ramp up and cool down in a controlled fashion.
Below is a generalized firing schedule for a single-layer glass bottle up to ⅛ inch thick. Note: Thicker bottles call for slower firing and annealing. Meanwhile, bottles with a COE lower than the common 96 may need longer soaks for complete slumping.
For your best results, consult a glass slumping expert on your particulars—and be prepared to experiment.
| Segment | Ramp rate (degrees per hour) | Target temperature | Hold (minutes) |
| 1 | 500 °F | 1,000 °F | 20 |
| 2 | 900 °F | 1,250 °F | 20 |
| 3 | As fast as possible | 960 °F | 30 |
| 4 | 500 °F | 300 °F | 0 |
Learn & Adapt for Slumping Success
Things can and will go wrong. It’s all part of the journey. And you can always find ways to improve.
Cracked bottle? Slow your ramps and cooldowns and lengthen your anneal hold.
Got air pockets? Try drilling a hole in the bottom of the bottle next time.
Slump into Something Special

Image Source: etsy.com (LolasArtPlace)
Once you’ve successfully slumped a glass bottle, there’s little doubt you’ll want to do it again.
As you continue the journey, why not add new finishing touches with various glass coldworking techniques? Hope you find bottle slumping to be easy, fun, and always full of new adventures.